6 Crucial Steps To Take Before Your Epoxy Floor Installation
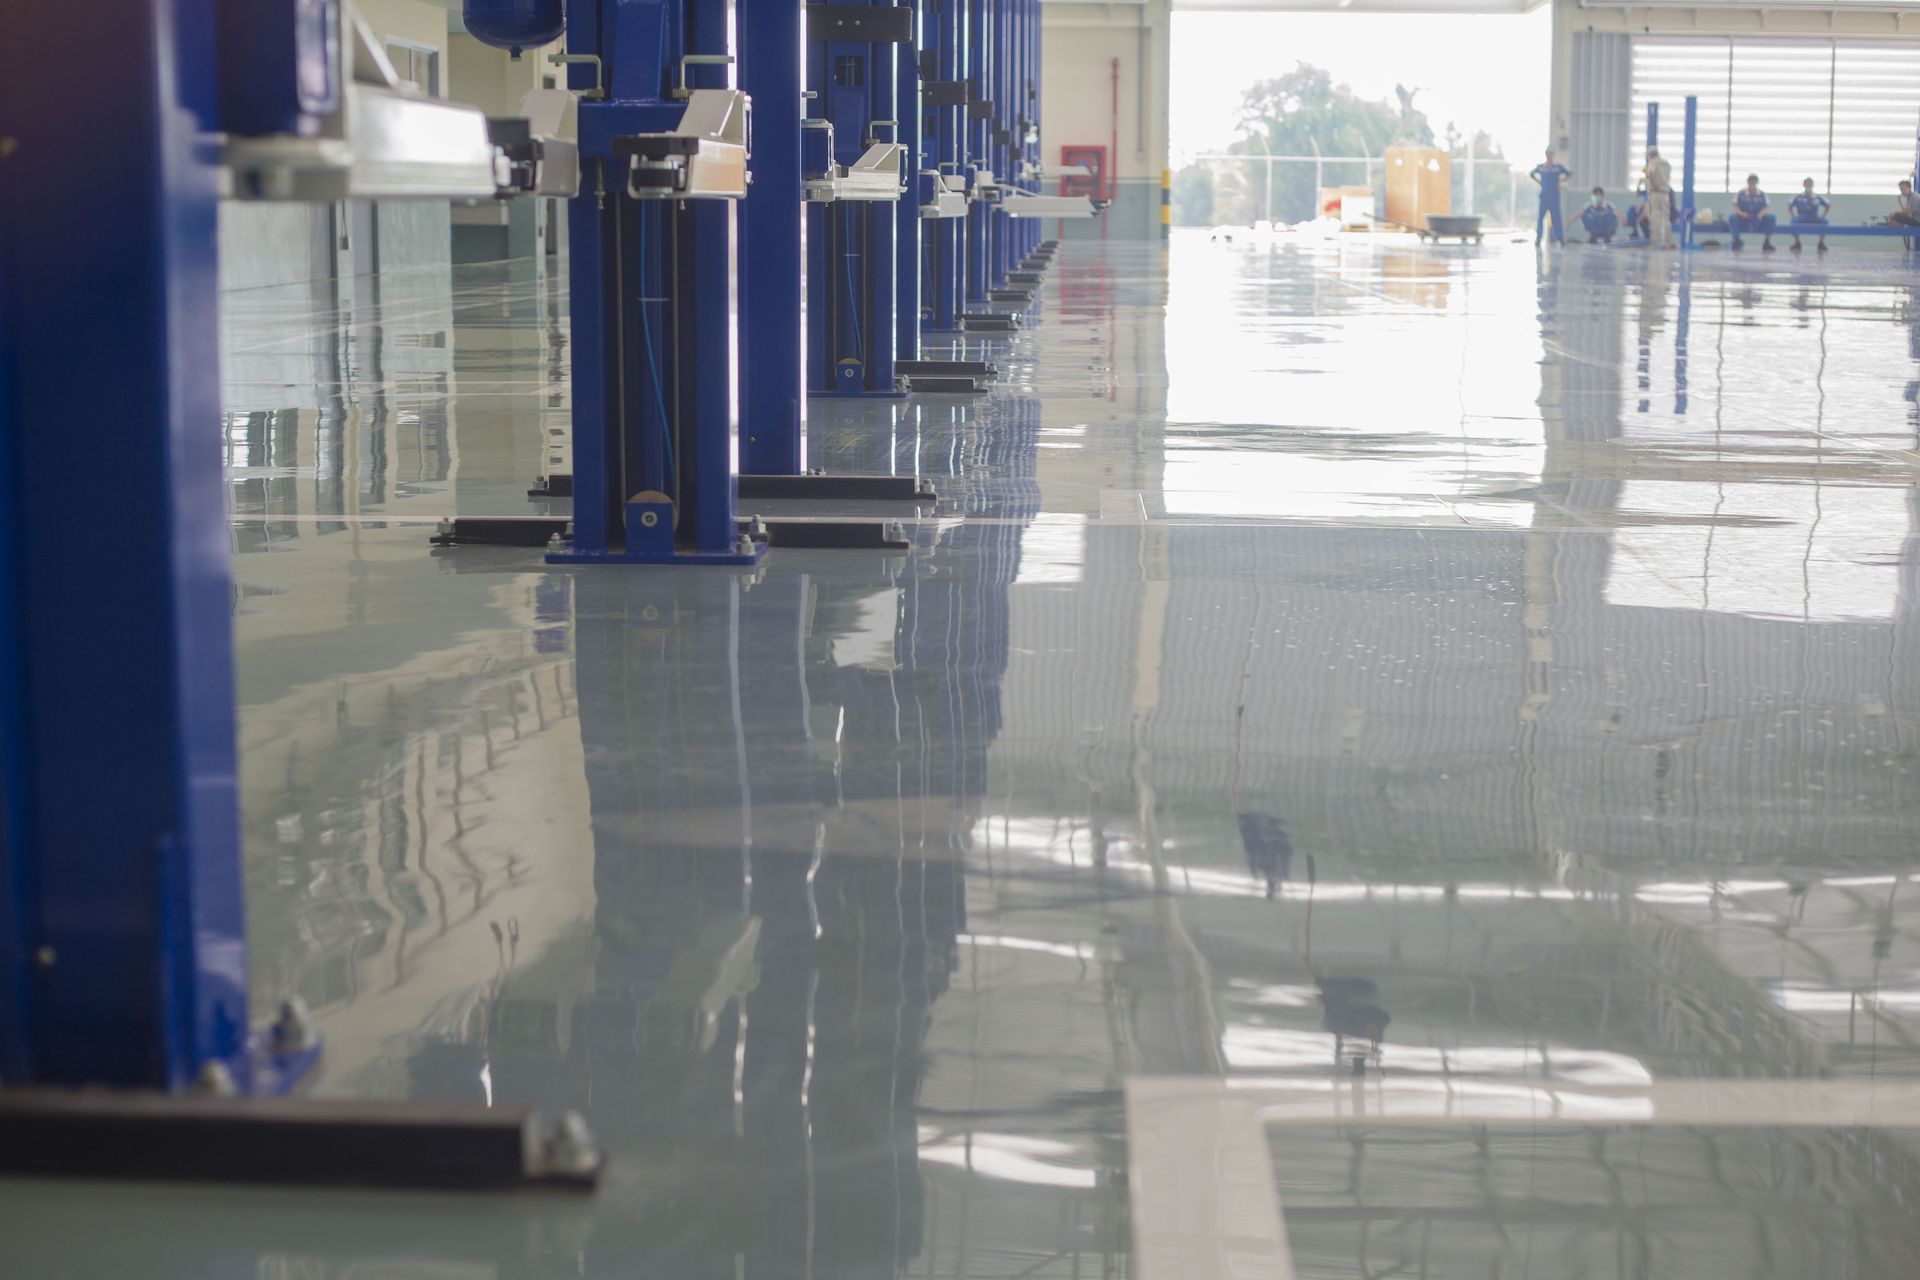
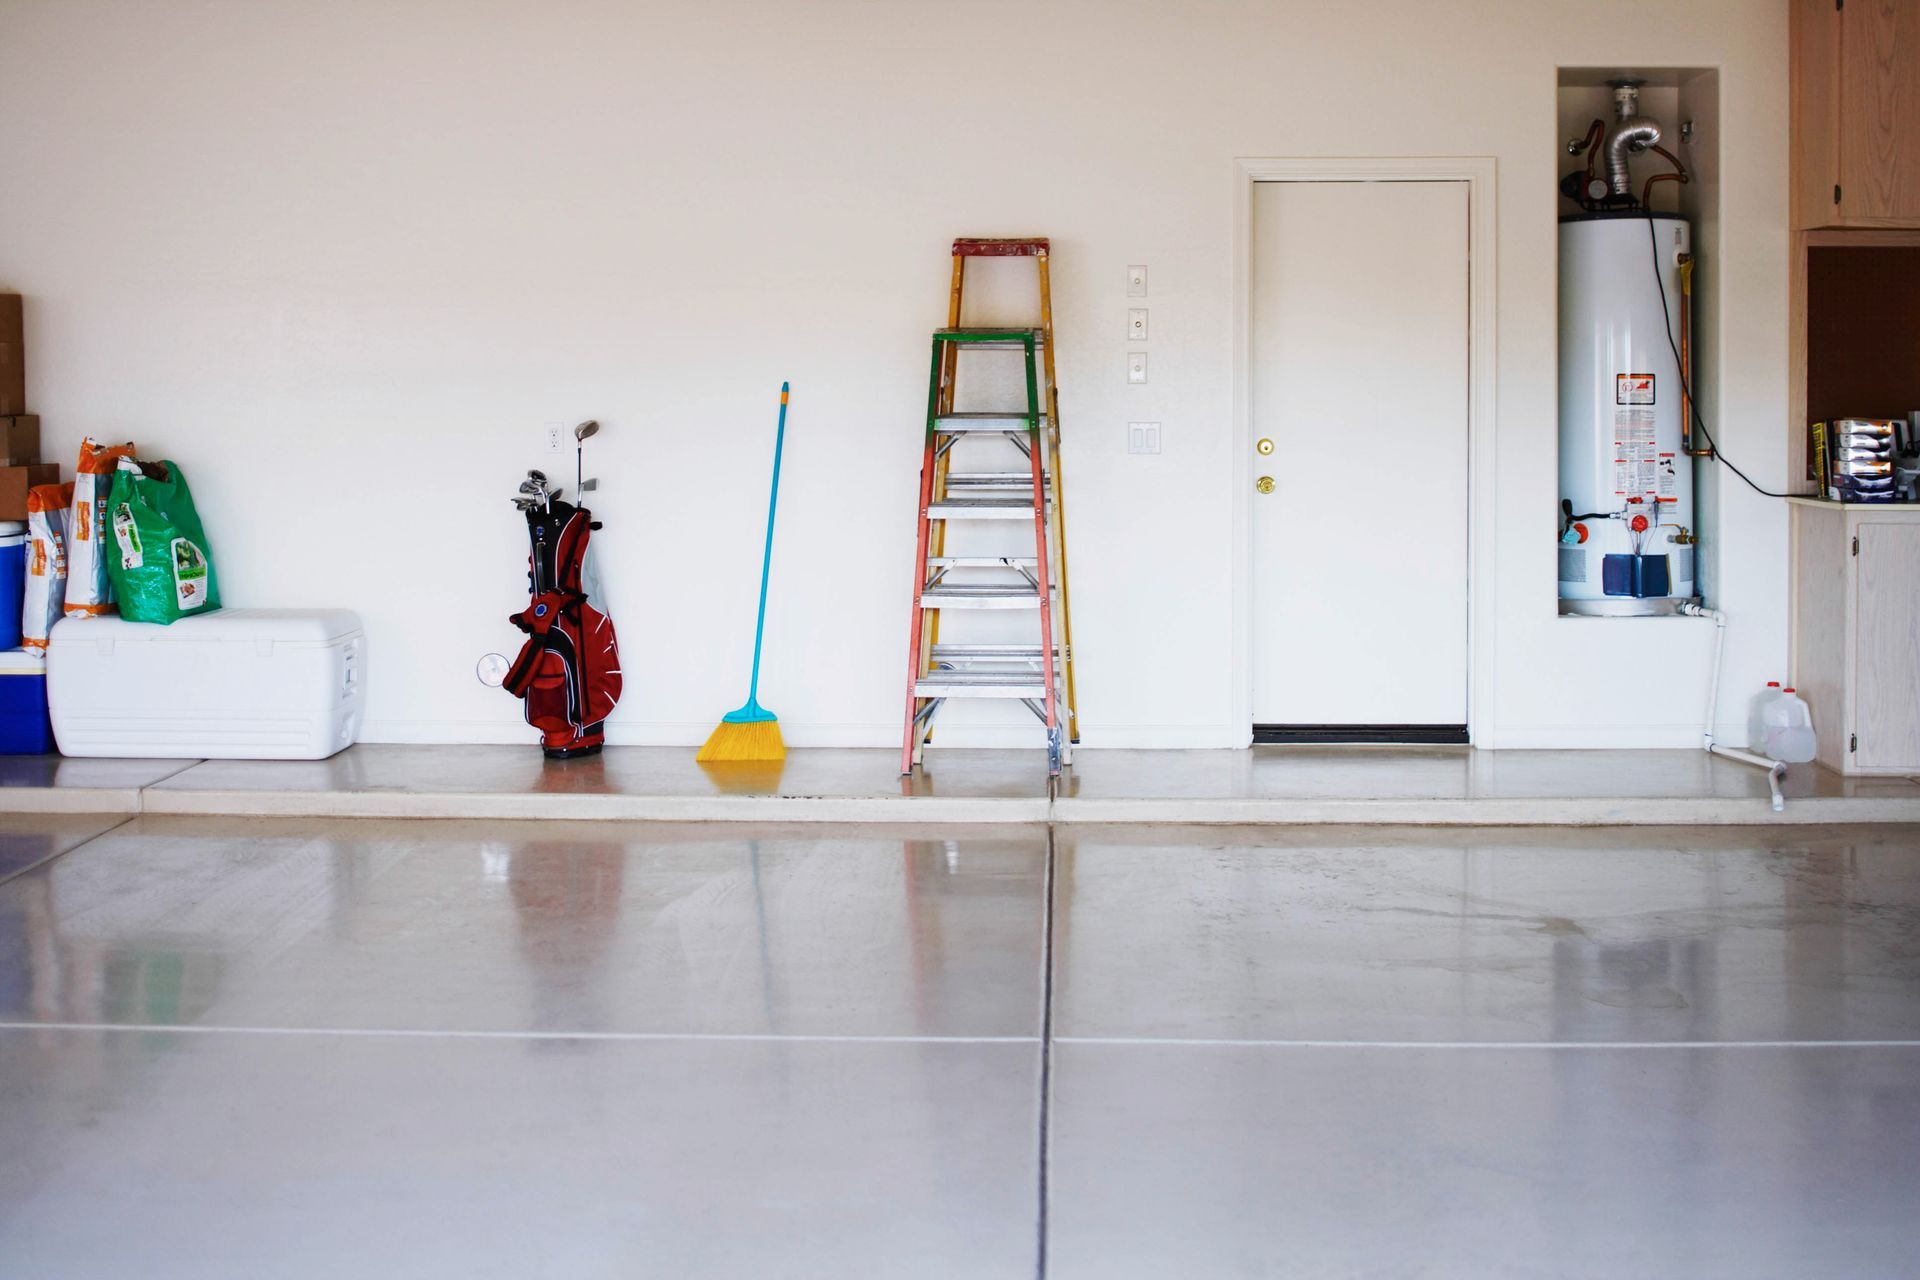
Epoxy floors are an excellent investment for both residential and commercial spaces due to their durability, aesthetic appeal, and ease of maintenance. However, achieving the best results from an epoxy floor installation requires meticulous preparation. This article explores the crucial steps that you need to take before installing an epoxy floor to ensure its longevity and effectiveness.
Implementing these preparatory steps is essential as an epoxy floor is a significant commitment in terms of both time and resources. By preparing adequately, you not only ensure a smoother installation process but also enhance the performance and lifespan of the floor. These steps are recommended whether you're hiring professionals or tackling a DIY project.
The top steps will guide you through assessing the current condition of your floor, gathering necessary tools and materials, thorough surface preparation, meticulous installation planning, primer application, and considering safety and ventilation. Each step is critical to avoid potential pitfalls and ensure your new floor is flawless. Let's delve into these steps in detail.
Step 1: Assessing the Current Condition of Your Floor
Understand the Type of Substrate
Before starting your epoxy floor project, understanding the substrate is paramount. Floors vary in type, including concrete, wood, or tiles, and each type has its own set of preparation requirements. Knowing the substrate allows you to select the appropriate epoxy and preparation method, ensuring compatibility and adhesion. A flawed assessment could lead to flooring issues, such as peeling or insufficient curing. Conducting a thorough inspection leads to a more successful epoxy application.
Measure Moisture Levels
Moisture is a major adversary in the epoxy floor installation process, and failing to measure and control it can lead to disastrous results. High moisture levels can impede adhesion, causing peeling or bubbling in the epoxy layer. Using a moisture meter to assess conditions ensures that the floor is dry enough to proceed. According to Miami New Construction Show, it's essential to allow for proper curing after installation, with complete chemical cures occurring 48 to 72 hours post-application. An effectively assessed moisture level guarantees a successful epoxy floor installation.
Step 2: Gathering the Necessary Tools and Materials
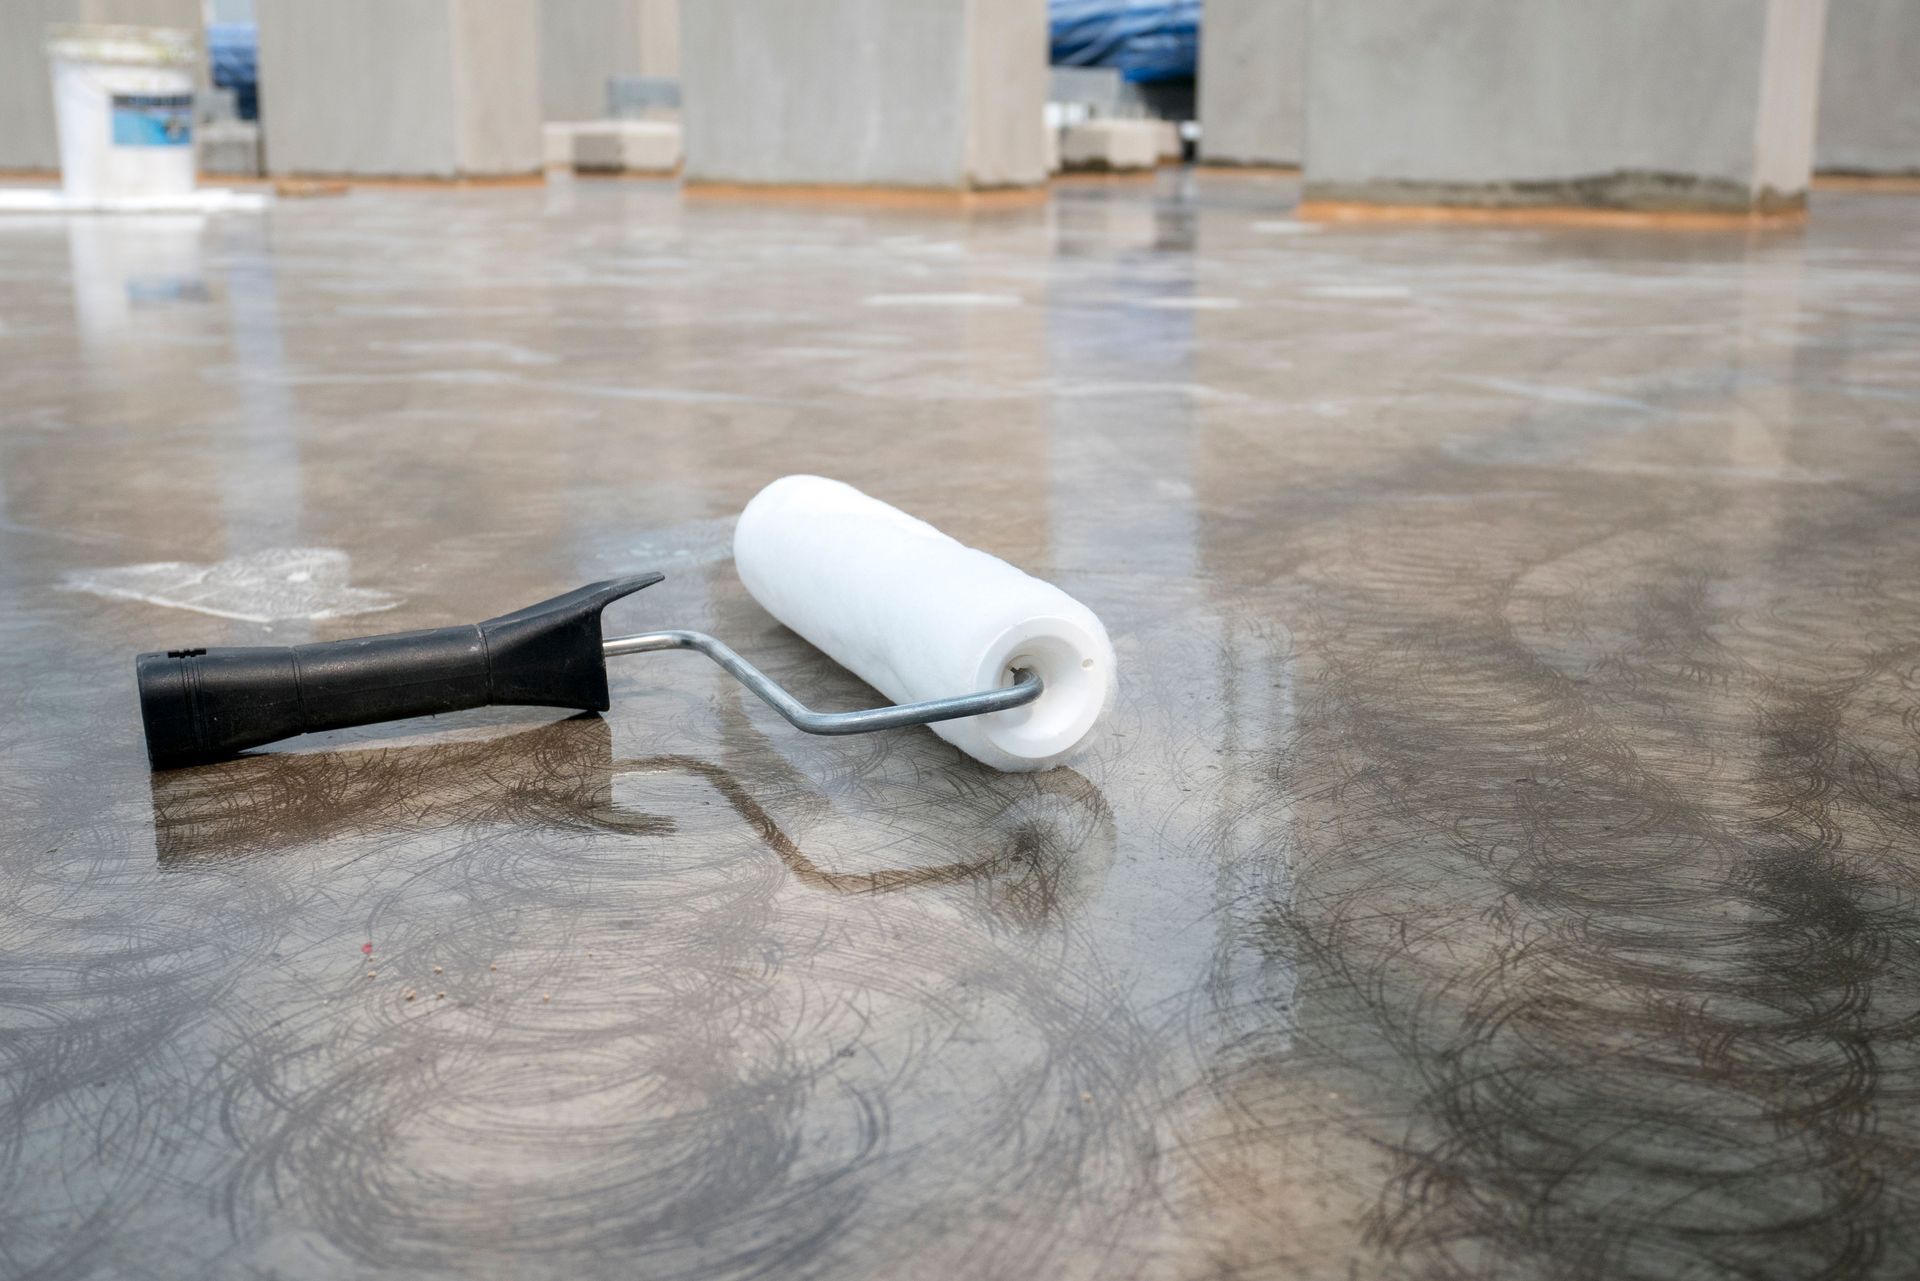
Collecting Essential Tools
Preparation means having all the required tools at your disposal before commencing the installation. Essential tools include mixers, squeegees, rollers, and spiked shoes for walking on wet epoxy. Having these tools ready ensures that you can focus on the application process without interruptions due to tool shortages. Proper equipment not only streamlines the workflow but also helps in achieving a flawless finish. Investing in quality tools can significantly impact the project's outcome and overall satisfaction.
Selecting Quality Epoxy Kits
The quality of the epoxy kit plays a vital role in determining the longevity and appearance of the finished floor. Evaluate the options available in the market, focusing on the reputation of the manufacturers and any reviews from professionals in the field. Selecting a high-quality kit ensures better workability, finish, and durability. Compromising on quality to save costs can lead to frequent repairs or replacements, proving more expensive in the long run. Quality epoxy products ensure that the final result matches your expectations.
Step 3: Preparing the Surface Thoroughly
Cleaning the Floor
A pristine surface is crucial for adequate epoxy adhesion; hence, cleaning is a critical step. Begin with sweeping and vacuuming to remove all dust and debris. Follow up with a deep clean using a suitable degreaser to eliminate any oils, wax, or residues that might hinder adhesion. A clean floor ensures that the epoxy resin bonds effectively with the substrate. Taking the time to thoroughly clean the surface will prevent peeling or flaking in the future.
Etching or Grinding the Surface
Etching or grinding creates a rough surface texture, improving the mechanical bond between the epoxy and the substrate. This step is particularly important for concrete floors and can be done using mechanical grinders or acid etching compounds. Ensuring a properly profiled substrate enhances epoxy adhesion and durability. Missing this critical step can lead to premature coating failures. Prepare the surface meticulously to establish a robust foundation for the epoxy layer.
Repairing Cracks and Holes
Surface imperfections must be addressed before applying epoxy. Fill cracks and holes with a suitable patching compound, and sand smooth as required. Properly repaired surfaces ensure uniform epoxy thickness and adherence, ultimately affecting the finish's integrity. Overlooking repairs can lead to epoxy pooling or breaking away from the substrate over time. Investing time in repairs ensures durability and aesthetic appeal, providing a seamless foundation for the epoxy coating.
Step 4: Planning Your Installation
Scheduling the Project
Proper scheduling is vital to accommodate necessary curing times and ensure the project's smooth execution. Consider allocating 10 to 14 hours initially for the epoxy coat to handle foot traffic safely. Timely scheduling ensures the project progresses without unnecessary delays, enabling strategic planning of any attached activities. It also considers seasonal impacts on temperature and humidity, crucial factors affecting epoxy curing.
Calculating Needed Materials
Planning involves accurately estimating the amount of epoxy and other materials needed for the project. Measure the surface area accurately and determine the thickness desired to calculate the epoxy quantity required. Factoring in some extra materials is wise, accounting for contingencies and minimizing potential interruptions. Misestimating materials can lead to delays, additional costs, or compromised results. Proper calculations help you maintain continuity and adhere to the project's timelines.
Step 5: Primer Application Techniques
Selecting the Right Primer
Choosing the appropriate primer for the substrate sets the foundation for successful epoxy application. Primers enhance adhesion, seal the substrate, and prevent outgassing which can cause bubbles in the finish. Select a primer compatible with both the substrate and epoxy product to ensure cohesion. Investing in a quality primer enhances the epoxy's performance and durability. The right primer application significantly contributes to the overall success of the epoxy flooring project.
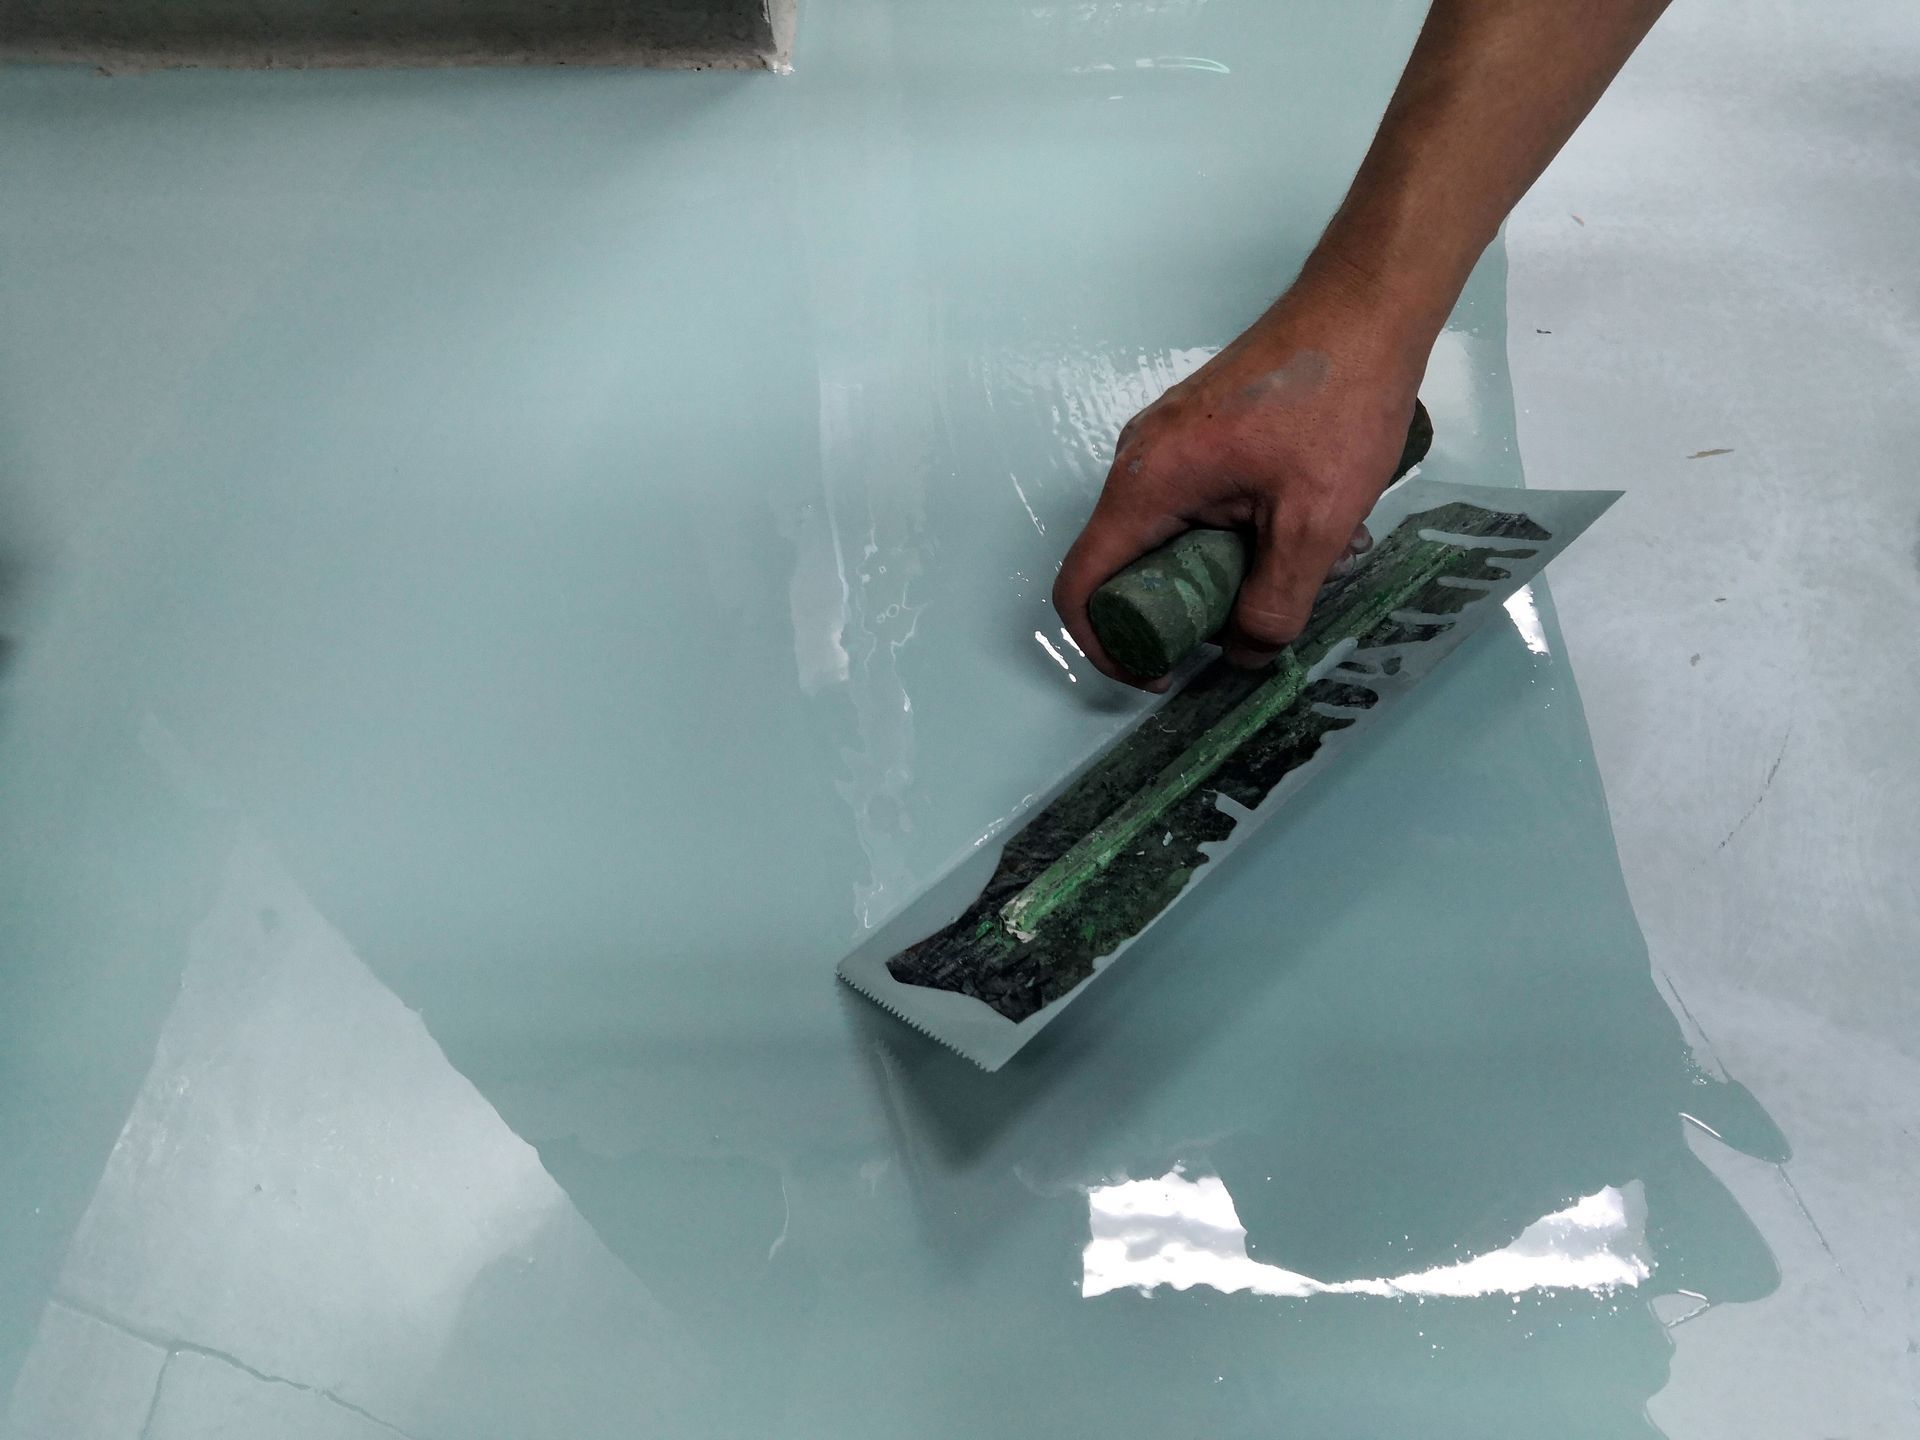
Applying Primer Evenly
Applying a primer evenly across the surface ensures uniform adhesion of the subsequent epoxy layers. Use a roller or brush to spread the primer, carefully covering each section with an even coat. Ensuring consistent application helps to create a seamless transition from primer to epoxy, enhancing the floor's overall aesthetics. Monitor the coverage to reassess application areas that require additional attention. An even primer application is crucial for the final epoxy layer's adherence and longevity.
Allowing Appropriate Curing Time
Curing time is critical for primer performance, impacting the final epoxy application's adhesion and durability. Allow the primer to cure according to the manufacturer's guidelines, which generally ranges from several hours to a day. Rushing this process can compromise the bond and lead to future adhesion issues. Waiting the appropriate time for the primer to cure properly establishes a robust base for the epoxy. Ensuring thorough curing is vital, leading to a successful epoxy flooring installation.
Step 6: Addressing Safety and Ventilation
Setting Up Ventilation Systems
Ensuring proper ventilation is fundamental when applying epoxy flooring due to the fumes released during the curing process. Set up fans and open windows to promote air circulation, expelling the fumes from the workspace. Effective ventilation safeguards personal health and enhances working conditions. Poorly ventilated spaces can pose health risks and hinder the curing process. Establishing a comprehensive ventilation plan ensures safe and comfortable working environments.
Using Recommended Safety Gear
Safety gear is indispensable during epoxy floor installation, protecting you from potential hazards associated with chemical exposure. Use goggles, gloves, and masks to avoid contact with skin and inhalation of hazardous fumes. Along with proper ventilation, safety gear forms a barrier against health risks, allowing you to work undisturbed. Being well-equipped minimizes injury risks, contributing to a smoother installation process. Prioritizing personal safety ensures uninterrupted and efficient execution of your project.
Avoiding Contaminant Exposure
During the installation process, it's vital to prevent contaminants from compromising the epoxy's integrity. Seal off the workspace from outside elements to minimize dust and debris intrusion. Follow controlled entry protocols, using sticky mats to trap impurities on footwear. Contaminants can cause imperfections and lead to a substandard finish in your epoxy floor. Practicing contamination control results in a pristine and flawless installation, elevating the quality and appearance of your epoxy flooring.
Preparing comprehensively for an epoxy floor installation ensures a successful, durable, and visually impressive result. Each of the outlined steps plays a critical role in achieving a flawless finish, from assessing the floor's current condition to implementing safety measures. This meticulous preparation guards against potential pitfalls, ensuring the longevity and performance of your new flooring. Proper curing and installation techniques guarantee that your investment holds both functionality and aesthetic appeal. Apply these insights and methods to master your epoxy installation project, reaping lasting benefits for years to come. If you're looking for a quality epoxy floor installation, contact BICS Inc today.
Share On: